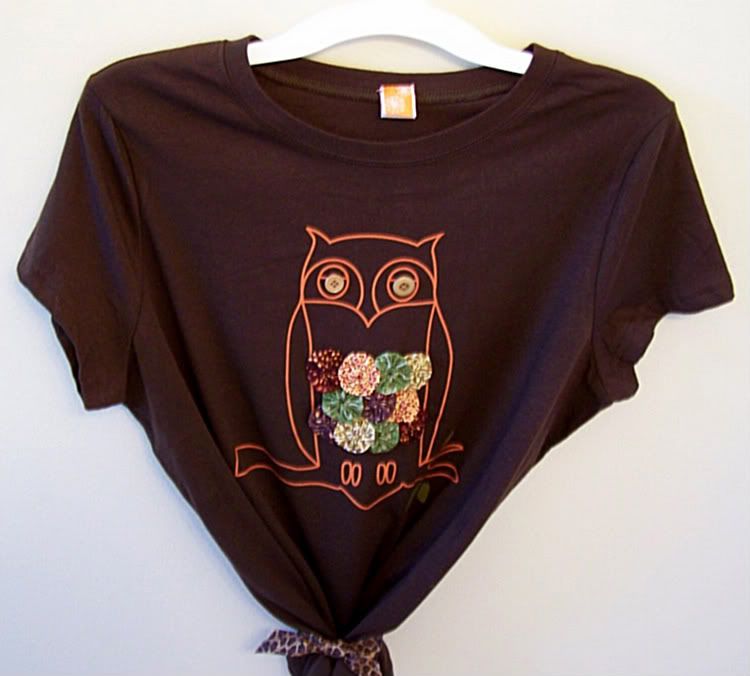
This is my new fall t-shirt, yay! And I'll tell ya how I did it:
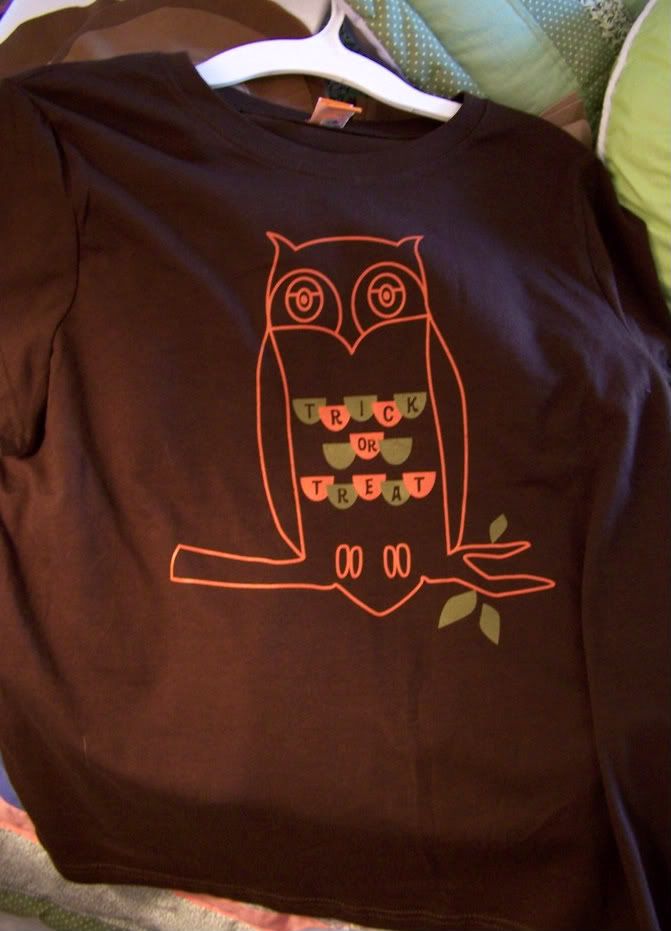
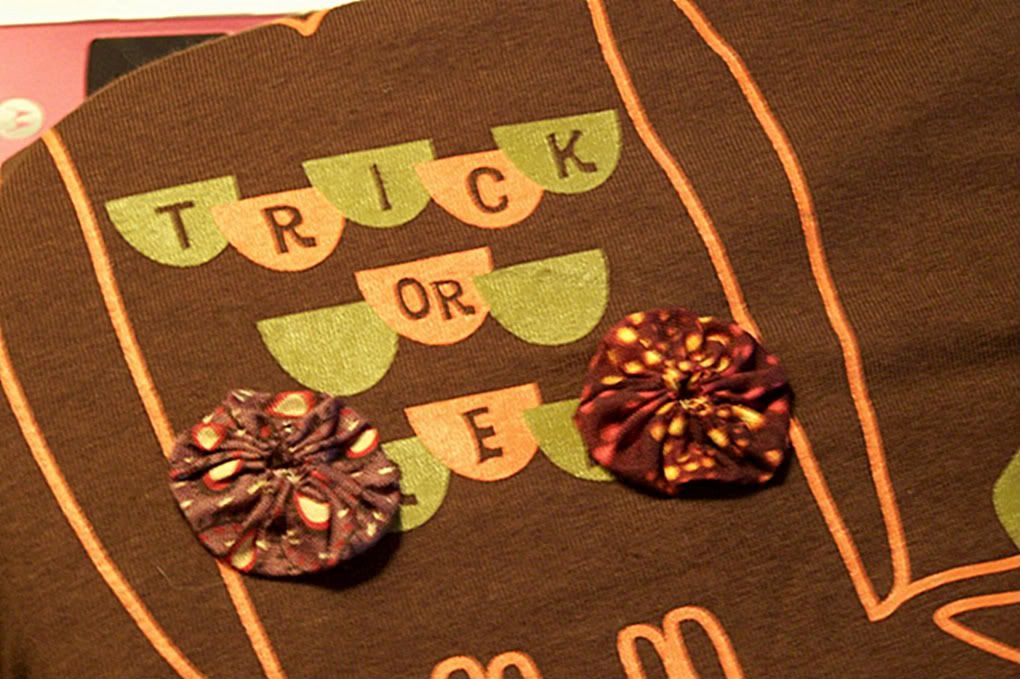
First I found this adorable owl Halloween t-shirt at Target for $5. What caught my eye was the yummy chocolate color and the fact it had a lovely owl on the front. His feathers say Trick or Treat which is cute, but then I could only wear it for Halloween, so I needed to find a way to hide that.
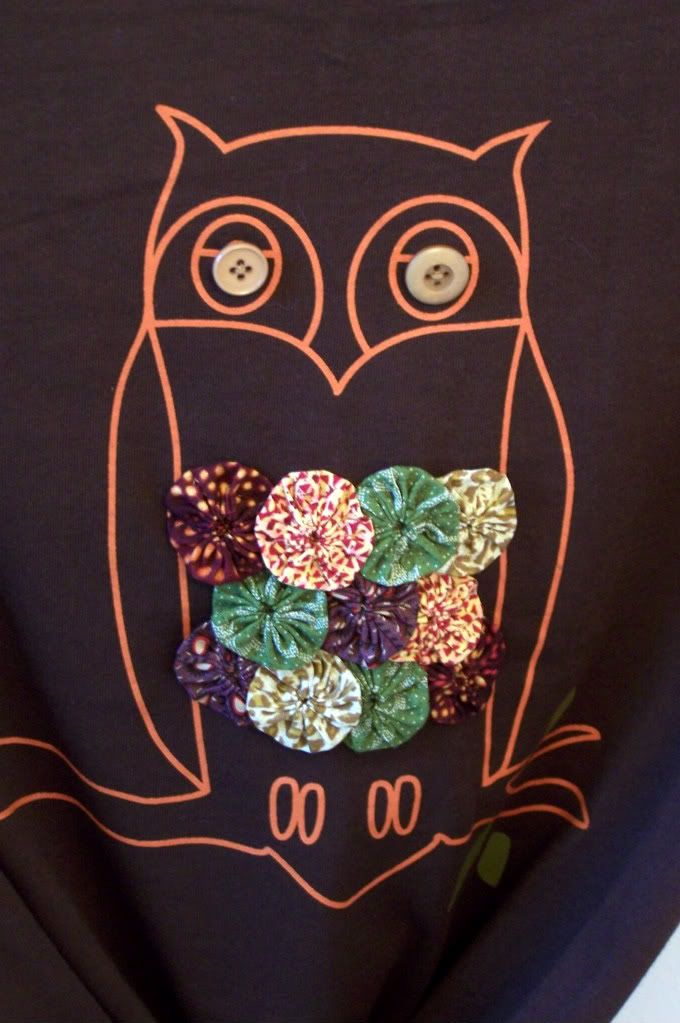
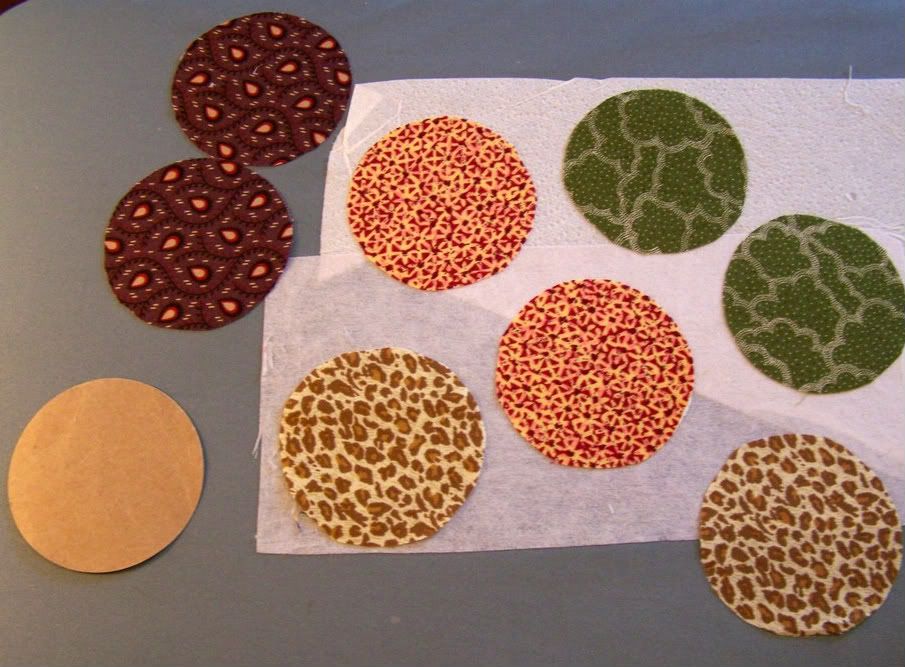
Enter yoyos in beautiful falls colors. I used a 3 inch circle to make my pattern and cut out 11.
The yoyo for this shirt is a finished yoyo, where the top edge is folded under before sewing. You use as gathering stitch and sew all the way around the circle. Oh yeah end of thread is knotted. Once around pull your thread to gather it up and knot it off. If you need more info on sewing yoyos visit
HERE 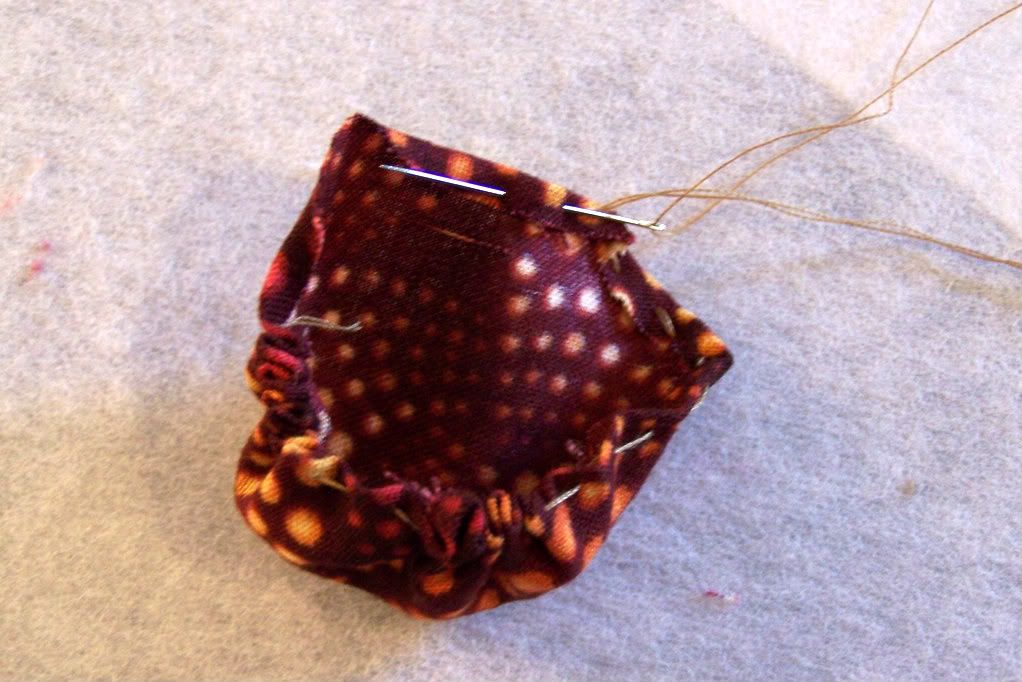
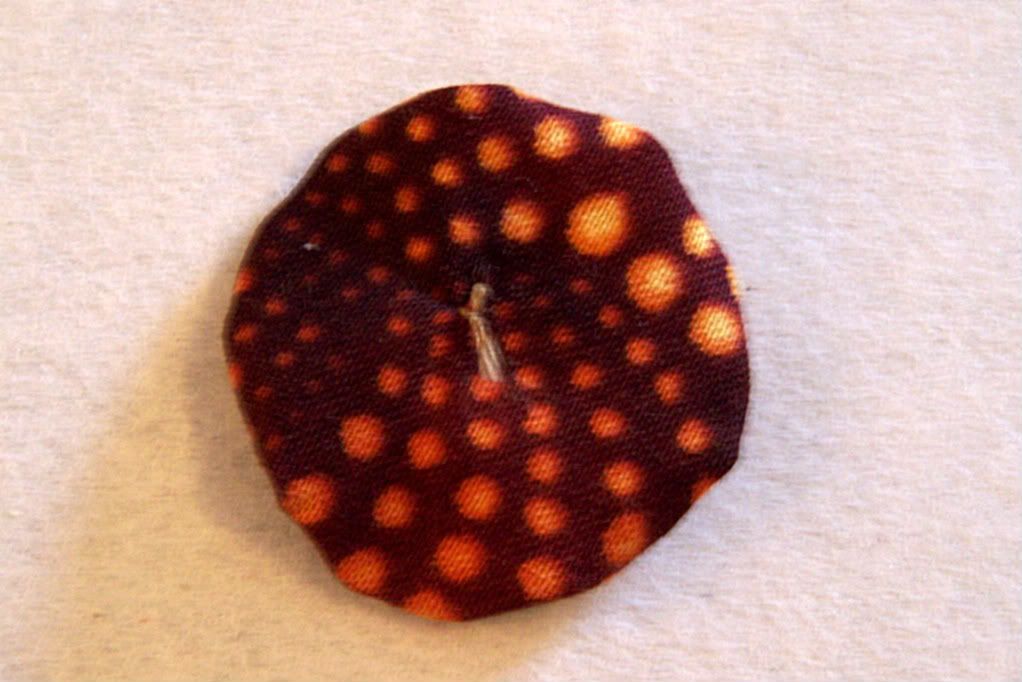
Once gathered I knotted the thread on the back of the yoyo.
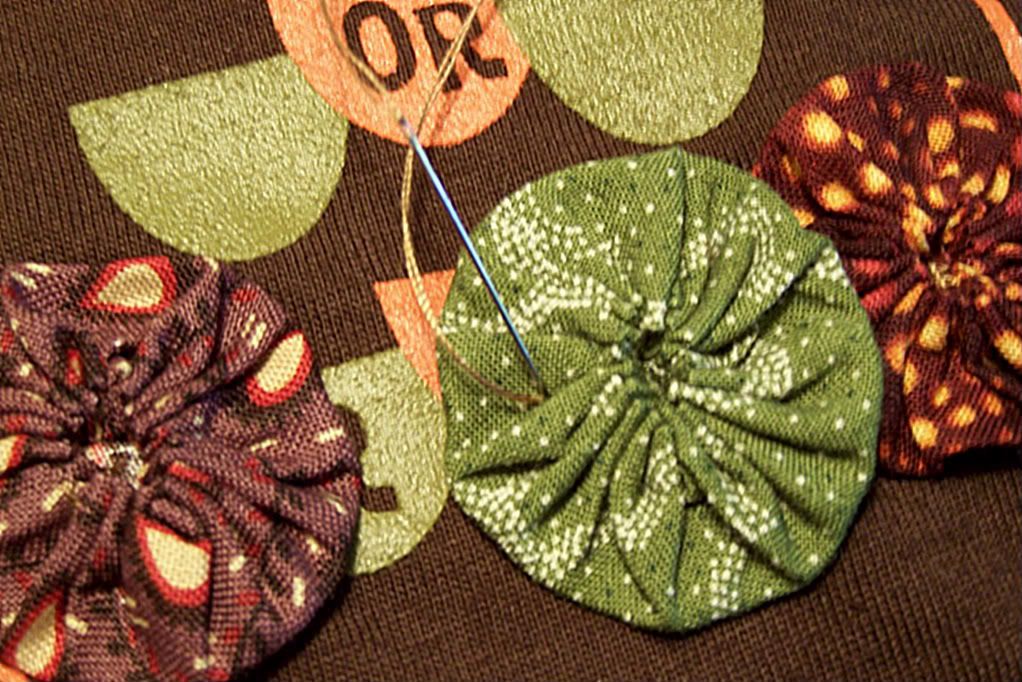
Next, I decided where to place each yoyo, and started sewing them on at the bottom row. I sewed on the 2 outside yoyos and filled in the centers. Then I moved up to the next row, and then the top row.
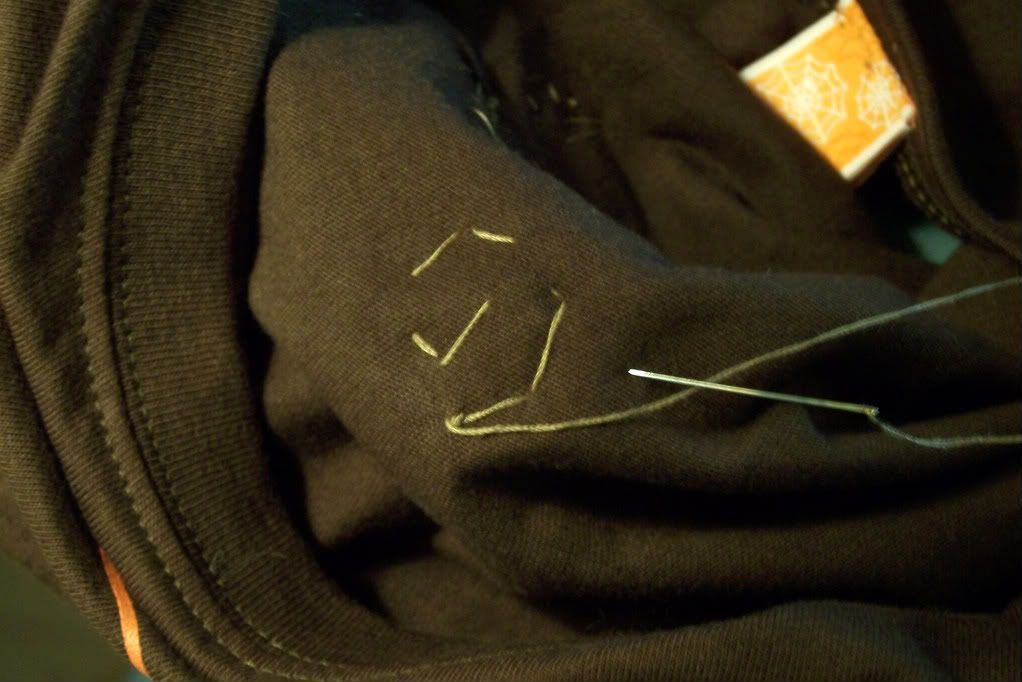
The best way to sew on yoyos is to use little stitches in the creases that way they aren't visible. I made little stitches all the way around each yoyo so that with wear and laundering they won't pull away from t-shirt and reveal the text below.
This is what the back side looks like. You can see I stitched around the perimeter and I knotted on the back.
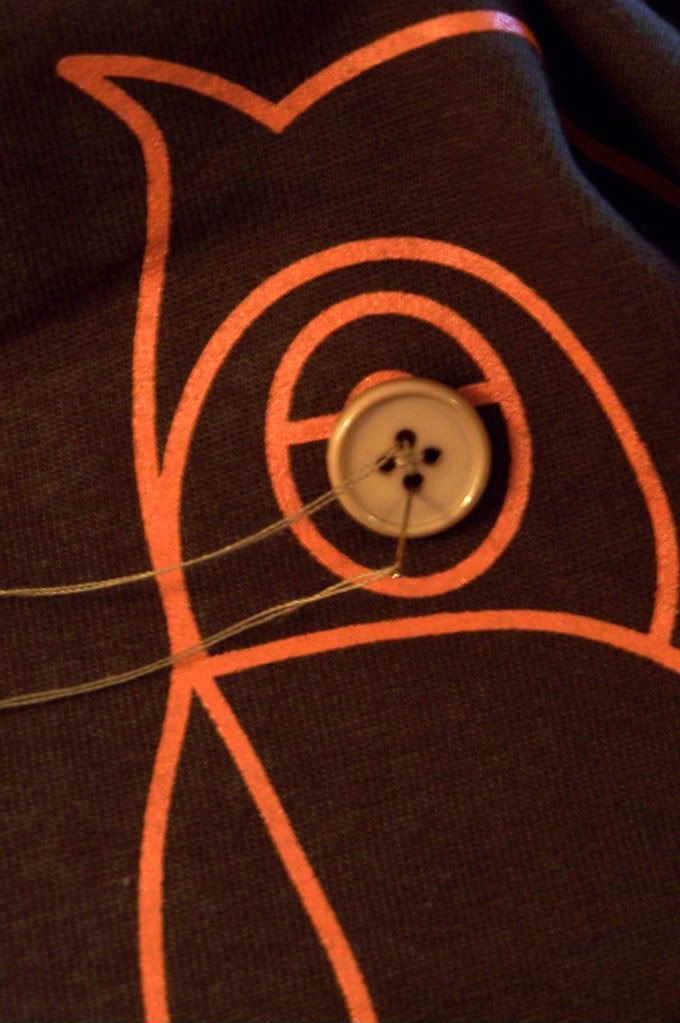
Then of course, some lovely button eyes. They are not an exact match but that is okay, adds to the whimsy right??
And voila! You are done HOO-La-La!!